Redirect a domain to your WordPress site hosted on a Synology NAS Fast way
To redirect a domain to your WordPress site hosted on a Synology NAS, follow these steps:
Domain Setup:
Access your domain provider's control panel.
Locate the DNS settings or DNS management section.
Add an "A" or "AAAA" DNS record for your domain (e.g., "mydomain.com") that points to your Synology NAS's public IP address.
Synology Setup:
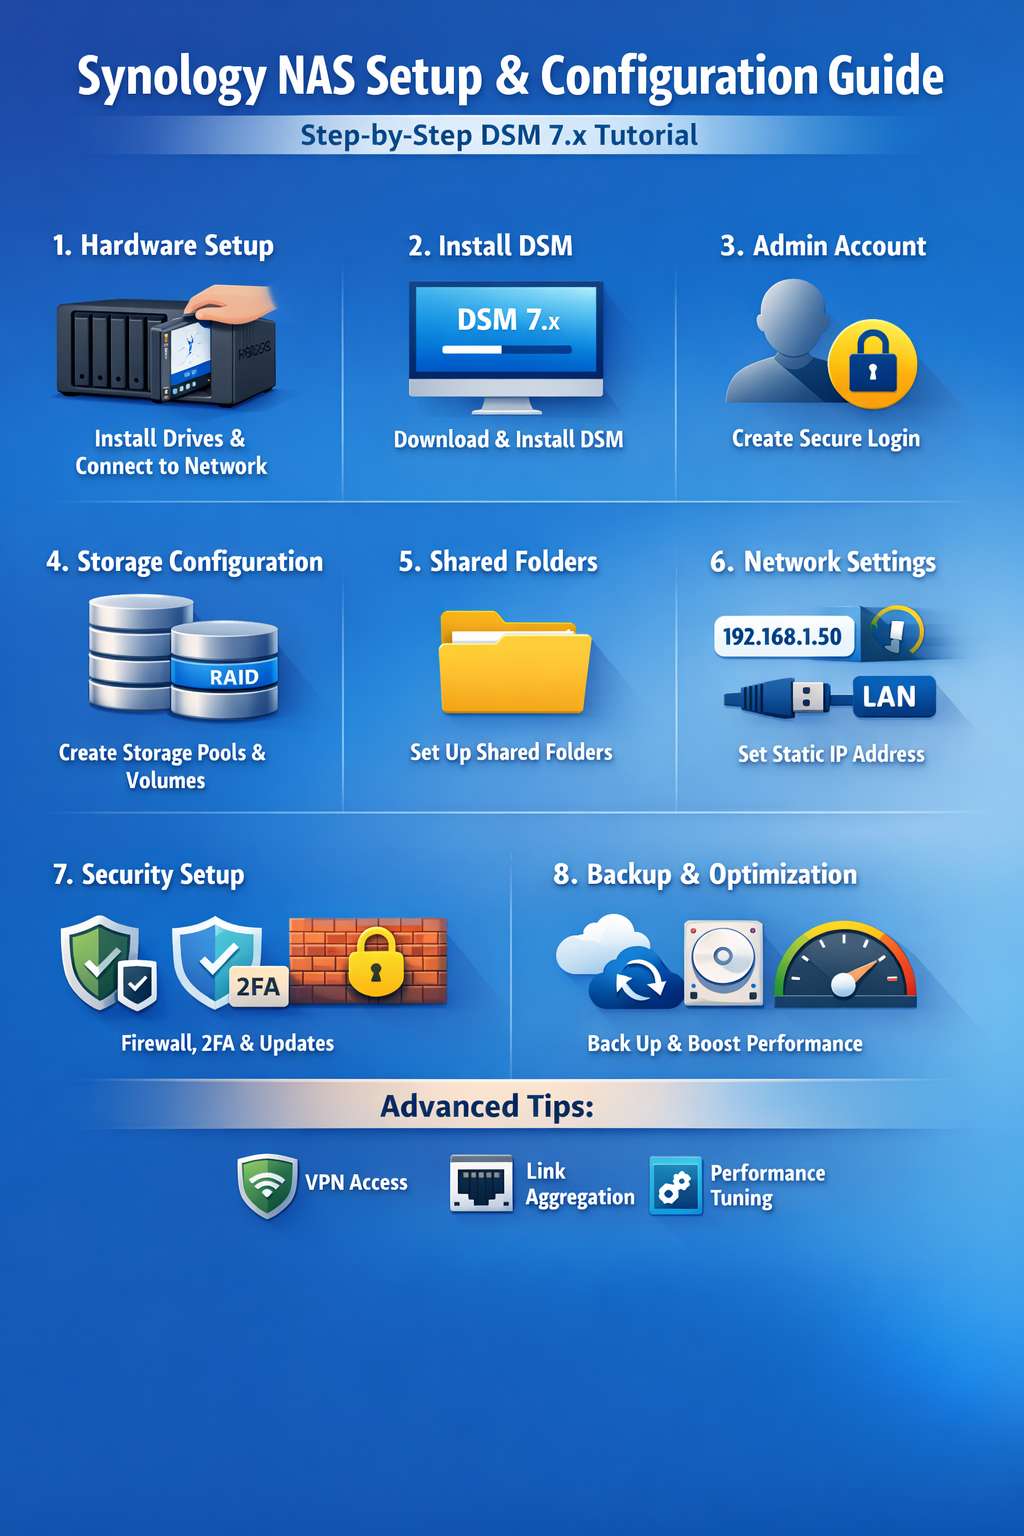
Access Disk Station Manager (DSM) on your Synology NAS.
Open the "Control Panel" package and locate "Web Station."
Go to the "General Settings" tab and ensure the "Enable HTTP/HTTPS" option is enabled.
On the "Virtual Host" tab, click "Create" to add a new virtual host.
Enter your domain name (e.g., "mydomain.com") in the "Hostname" field. Select the root folder where you have WordPress installed (usually "web" or "htdocs").
WordPress Setup:
Access your WordPress settings from your web browser by entering "yourdomain.com/wp-admin".
In the WordPress admin panel, go to "Settings" > "General".
Update the WordPress URLs to match your new domain (for example, change "http://ipaddress:port" to "http://yourdomain.com").
SSL Certificate (Optional but Recommended):
To enable HTTPS and obtain a free SSL certificate, go to "Control Panel" > "Security" > "Let's Encrypt Certificate" in DSM.
Select your domain and follow the instructions to obtain and apply the certificate.
Test the Redirect:
After completing the steps above, wait a few minutes for the DNS settings to propagate.
Then, enter your domain in a web browser to verify that the redirect is working correctly.
Please note that specific details may vary depending on your domain provider and Synology software version. It's always recommended to consult your domain provider's guides and Synology documentation for up-to-date and detailed instructions.