# Install Coolify on Ubuntu Server (Complete Step‑by‑Step Guide)
Meta Title:
Install Coolify on Ubuntu Server – Commands, Troubleshooting & Best Practices
Meta Description:
Learn how to install Coolify on Ubuntu Server with detailed commands, Docker setup, firewall rules, troubleshooting tips, and production best practices. SEO‑ready guide.
---
## What is Coolify?
Coolify is an open‑source, self‑hosted alternative to platforms like Vercel, Netlify, and Heroku. It lets you deploy Docker‑based apps, databases, and services on your own server with a modern web UI.
Key Benefits:
Self‑hosted & open source
Supports Docker, Docker Compose, and Git deployments
Built‑in reverse proxy & SSL
Ideal for VPS and dedicated servers
---
## System Requirements
Before installing Coolify, make sure your server meets these requirements:
OS: Ubuntu Server 20.04 / 22.04 / 24.04 (LTS recommended)
RAM:
Minimum 2 GB (4 GB recommended)
CPU: 1 vCPU minimum
Storage:
20 GB free disk space
Access: Root or sudo user
Network:
Public IP address
---
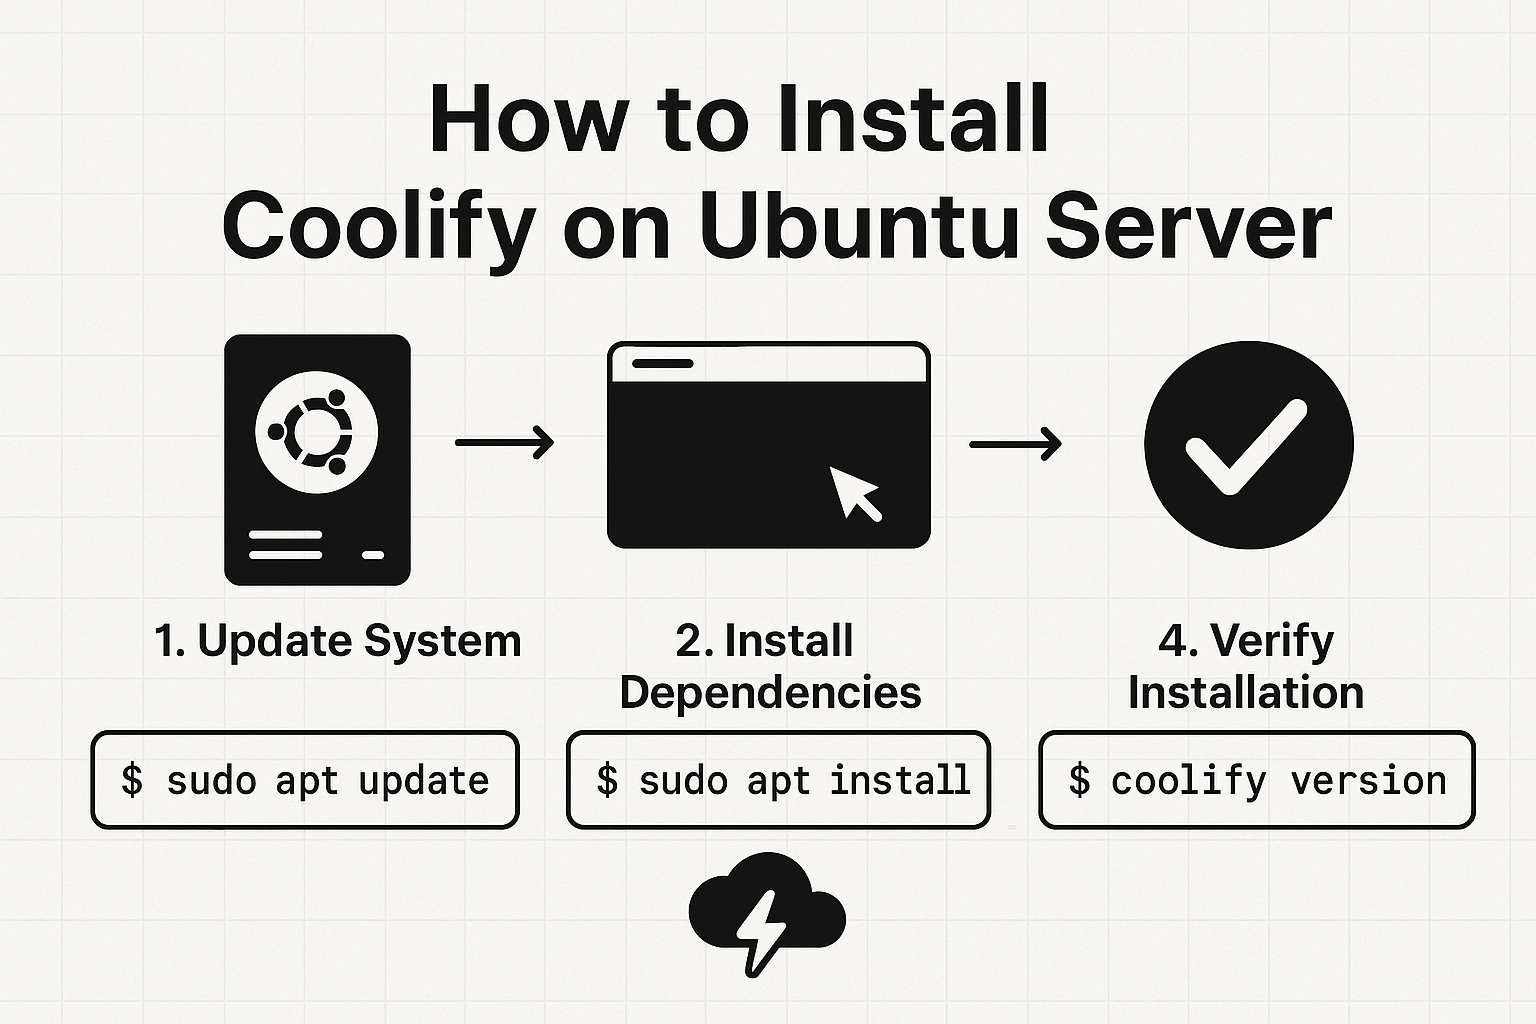
## Step 1: Update Your Ubuntu Server
Always start by updating the system packages:
sudo apt update && sudo apt upgrade -y
sudo reboot
After reboot, reconnect to your server via SSH.
---
## Step 2: Install Required Dependencies
Coolify runs on Docker, so we need to install Docker and Docker Compose.
### Install Docker
curl -fsSL https://get.docker.com | sudo sh
Enable Docker to start on boot:
sudo systemctl enable docker
sudo systemctl start docker
Verify installation:
docker --version
---
### Install Docker Compose Plugin
sudo apt install docker-compose-plugin -y
Verify:
docker compose version
---
## Step 3: Configure Firewall (UFW)
If UFW is enabled, allow required ports:
sudo ufw allow OpenSSH
sudo ufw allow 80
sudo ufw allow 443
sudo ufw enable
Check firewall status:
sudo ufw status
---
## Step 4: Install Coolify
Run the official Coolify installer:
curl -fsSL https://cdn.coollabs.io/coolify/install.sh | bash
⚠️
Important:
Run this command as a sudo/root user.
The installer will:
Create Docker containers
Configure the reverse proxy
* Start Coolify services
Installation usually takes
2–5 minutes
.
---
## Step 5: Access Coolify Dashboard
Once installation is complete, open your browser:
http://YOUR_SERVER_IP:8000
Create your
admin account
and log in.
---
## Step 6: Configure Domain & SSL (Recommended)
### Point Your Domain
Create an
A record
in your DNS:
@ → YOUR_SERVER_IP
### Enable HTTPS in Coolify
1. Go to
Settings → Domains
2. Add your domain
3. Enable
Let's Encrypt SSL
4. Save & wait for certificate generation
---
## Step 7: Deploy Your First Application
1. Go to
Projects → New Project
2. Connect your GitHub / GitLab repository
3. Select build type (Dockerfile or Nixpacks)
4. Set environment variables
5. Click
Deploy
Coolify will build and deploy your app automatically.
---
## Common Troubleshooting
### Coolify Not Accessible
docker ps
Restart Coolify containers:
docker restart coolify
---
### Port 80 or 443 Already in Use
Check which service is using the port:
sudo lsof -i :80
sudo lsof -i :443
Stop conflicting services (example: Apache):
sudo systemctl stop apache2
sudo systemctl disable apache2
---
### Docker Permission Denied
sudo usermod -aG docker $USER
newgrp docker
---
### SSL Certificate Failed
Ensure domain points to correct IP
Port 80 must be open
Wait a few minutes and retry
---
## Best Practices for Production
Use
Ubuntu LTS
only
Enable automatic security updates
Regularly update Coolify containers
Use strong passwords & SSH keys
Take server snapshots/backups
---
## SEO Keywords (Targeted)
Install Coolify on Ubuntu
Coolify Ubuntu Server setup
Coolify Docker installation
Self hosted PaaS Ubuntu
* Coolify deployment guide
---
## Conclusion
Coolify is a powerful, modern, and open‑source PaaS that gives you full control over your infrastructure. With this guide, you can install Coolify on Ubuntu Server, secure it with SSL, and deploy production‑ready applications in minutes.
---
Next Step:
Add monitoring, backups, and multiple projects to scale your deployments 🚀