# Deploy n8n on Custom server with AI‑Generated Images
Meta Title:
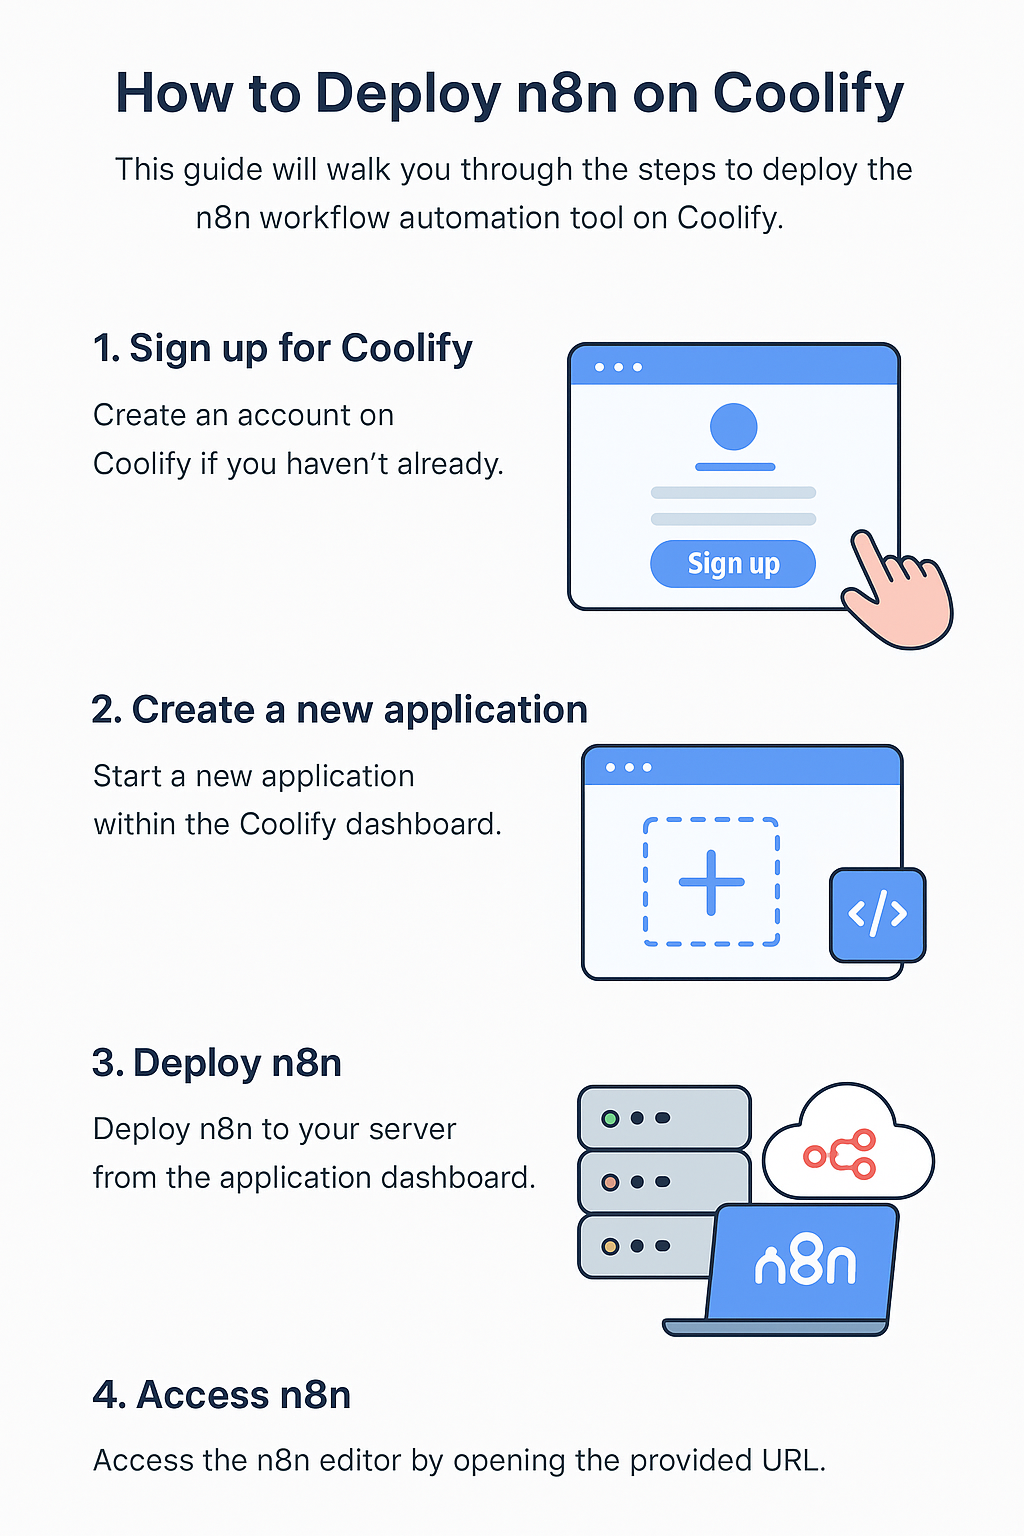
Deploy n8n on Coolify – Step‑by‑Step Guide
Meta Description:
Learn how to deploy n8n on Coolify using Docker. This detailed, SEO‑optimized guide includes security, scaling, environment variables, and AI‑generated visuals for publishing-ready content.
---
## Introduction
n8n is a powerful open‑source workflow automation tool that lets you connect APIs, automate tasks, and build complex logic visually.
Coolify
is a modern self‑hosted PaaS that simplifies deploying Docker‑based applications on your own server.
In this guide, you’ll learn
how to deploy n8n on Coolify step by step
, configure it securely, and prepare your article with
AI‑generated images
for a professional, SEO‑ready blog post.
---
## Prerequisites
Before you begin, make sure you have:
A VPS or dedicated server (Ubuntu 20.04+ recommended)
A domain or subdomain (e.g.
n8n.yourdomain.com
)
Coolify installed and running
Basic knowledge of Docker and environment variables
---
## Why Host n8n on Coolify?
Self‑hosted & private – full control over your workflows and data
Automatic SSL
with Let’s Encrypt
Easy environment variable management
Git & Docker‑based deployments
*
Low operational overhead
compared to Kubernetes
---
## Step 1: Create a New Project in Coolify
1. Log in to your Coolify dashboard
2. Click
Projects → New Project
3. Name the project (e.g.
automation-tools
)
4. Select your server and save
---
## Step 2: Add n8n as a Docker Application
1. Inside your project, click
Add Resource
2. Choose
Docker Image
3. Use the official n8n image:
n8nio/n8n:latest
4. Set the container name to
n8n
---
## Step 3: Configure Environment Variables (Important)
Add the following environment variables in Coolify:
N8N_HOST=n8n.yourdomain.com
N8N_PORT=5678
N8N_PROTOCOL=https
WEBHOOK_URL=https://n8n.yourdomain.com/
NODE_ENV=production
GENERIC_TIMEZONE=UTC
### Optional but Recommended
N8N_BASIC_AUTH_ACTIVE=true
N8N_BASIC_AUTH_USER=admin
N8N_BASIC_AUTH_PASSWORD=strongpassword
> 🔐 This protects your n8n editor from unauthorized access.
---
## Step 4: Persistent Storage Setup
n8n requires persistent storage for workflows and credentials.
In Coolify:
Add a Volume
Mount path:
/home/node/.n8n
This ensures data is preserved across restarts and updates.
---
## Step 5: Set Domain & Enable HTTPS
1. Go to
Domains
in your n8n resource
2. Add your domain:
n8n.yourdomain.com
3. Enable
Let’s Encrypt SSL
4. Save and redeploy
Coolify will automatically issue and renew SSL certificates.
---
## Step 6: Deploy and Verify
Click Deploy
Wait for the container to become healthy
* Visit:
https://n8n.yourdomain.com
You should now see the n8n onboarding screen.
---
## Scaling & Performance Tips
Increase container memory to 1–2 GB for heavy workflows
Use
external databases
(PostgreSQL) for large setups
Disable unused nodes to reduce overhead
---
## Security Best Practices
Always enable
basic auth
or SSO
Restrict server firewall ports
Regularly update the n8n Docker image
Store secrets in environment variables, not workflows
---
## AI‑Generated Images for This Post
Use AI‑generated images to improve engagement and SEO:
1. Hero Image: n8n + Coolify automation concept
2. Architecture Diagram: User → Coolify → Docker → n8n
3. Workflow UI Illustration: Example n8n automation flow
(Images generated with AI and optimized for web.)
---
## SEO Optimization Checklist
Primary keyword:
Deploy n8n on Coolify
Secondary keywords:
n8n self‑hosting
Coolify Docker apps
n8n automation server
Use H1–H3 structure
Add alt text to images
Internal links to Docker and automation articles
Fast loading images (WebP preferred)
---
## Conclusion
Deploying
n8n on Coolify
is one of the easiest and cleanest ways to self‑host a powerful automation platform. With Docker‑based deployments, built‑in SSL, and simple scaling, Coolify removes most of the DevOps complexity.